![]()
2026 Reliable Study Materials & Testing Engine for CKA Exam Success!
Validate your Skills with Updated CKA Exam Questions & Answers and Test Engine
NEW QUESTION # 23
You have a Kubernetes cluster running several applications. You want to implement a network policy that allows traffic only between pods within the same deployment and denies all other traffic. How can you achieve this using NetworkPolicies?
Answer:
Explanation:
See the solution below with Step by Step Explanation.
Explanation:
Solution (Step by Step) :
1. Create a NetworkPolicy:
- Create a NetworkPolicy in the namespace where the deployments are located.
- Code:
2. Apply the NetworkPolicy: - Apply the NetworkPolicy using 'kubectl apply -f networkpolicy.yaml'
NEW QUESTION # 24
Configure the kubelet systemd- managed service, on the node labelled with name=wk8s-node-1, to launch a pod containing a single container of Image httpd named webtool automatically. Any spec files required should be placed in the /etc/kubernetes/manifests directory on the node.
You can ssh to the appropriate node using:
[student@node-1] $ ssh wk8s-node-1
You can assume elevated privileges on the node with the following command:
[student@wk8s-node-1] $ | sudo -i
Answer:
Explanation:
See the solution below.
Explanation
solution
F:\Work\Data Entry Work\Data Entry\20200827\CKA\21 C.JPG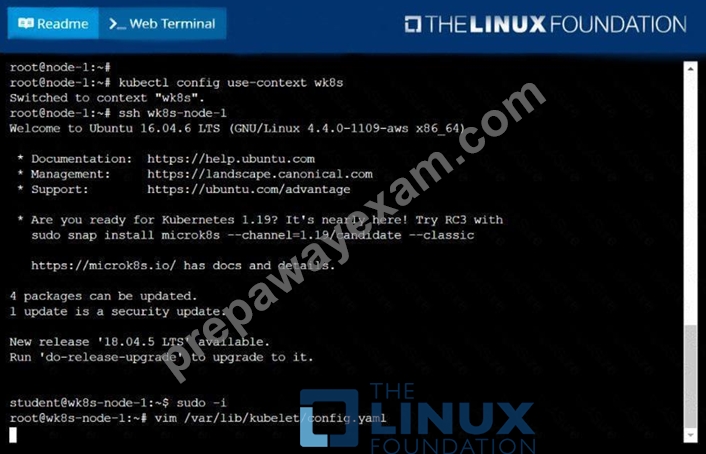
F:\Work\Data Entry Work\Data Entry\20200827\CKA\21 D.JPG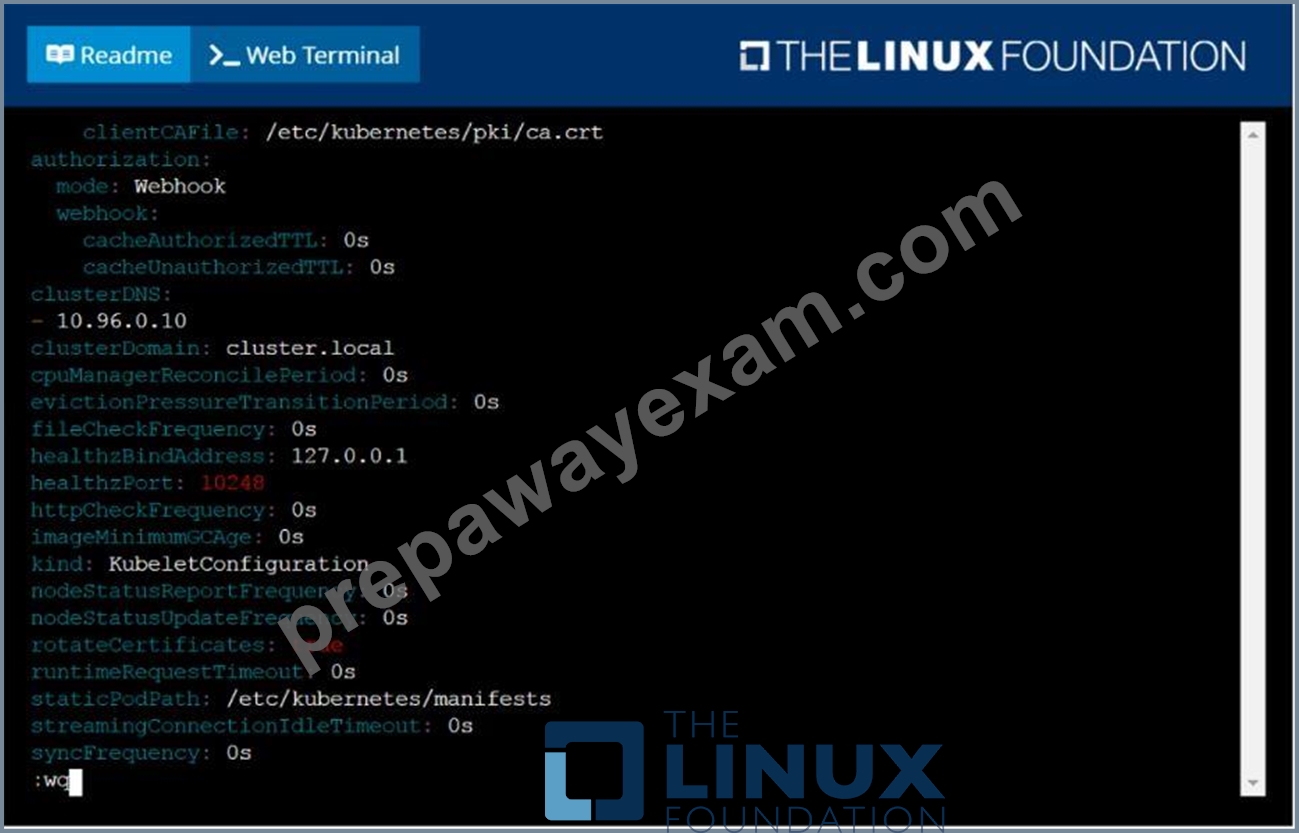
F:\Work\Data Entry Work\Data Entry\20200827\CKA\21 E.JPG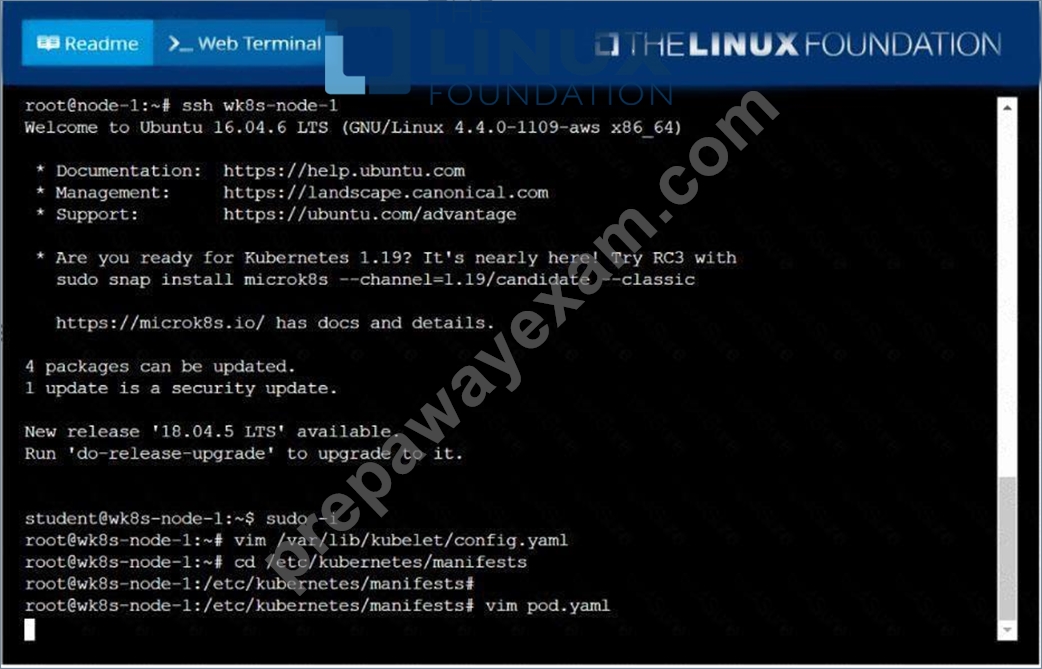
F:\Work\Data Entry Work\Data Entry\20200827\CKA\21 F.JPG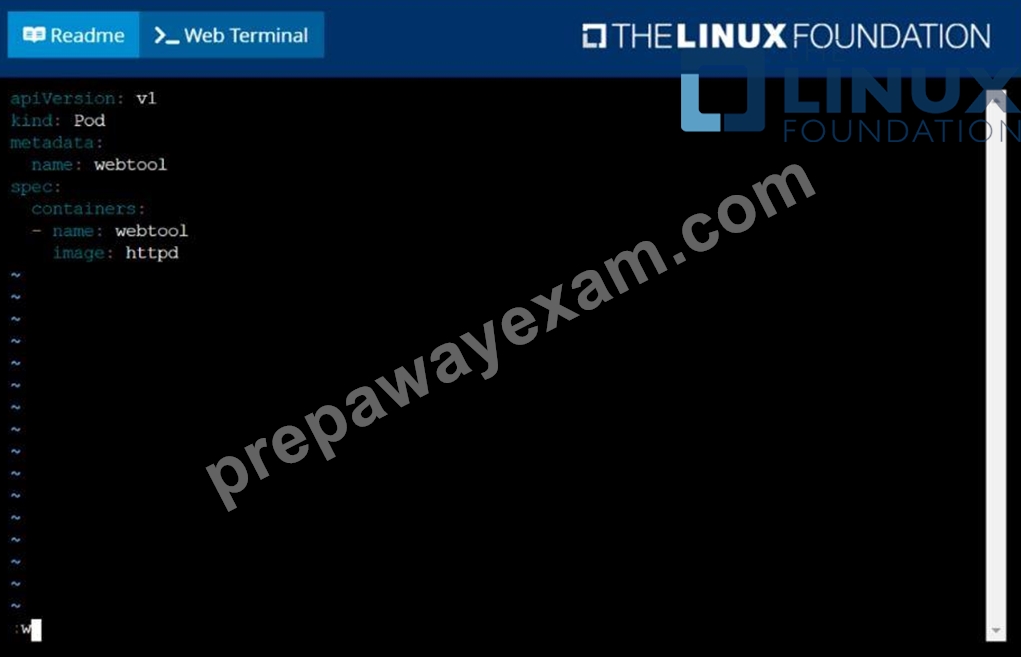
F:\Work\Data Entry Work\Data Entry\20200827\CKA\21 G.JPG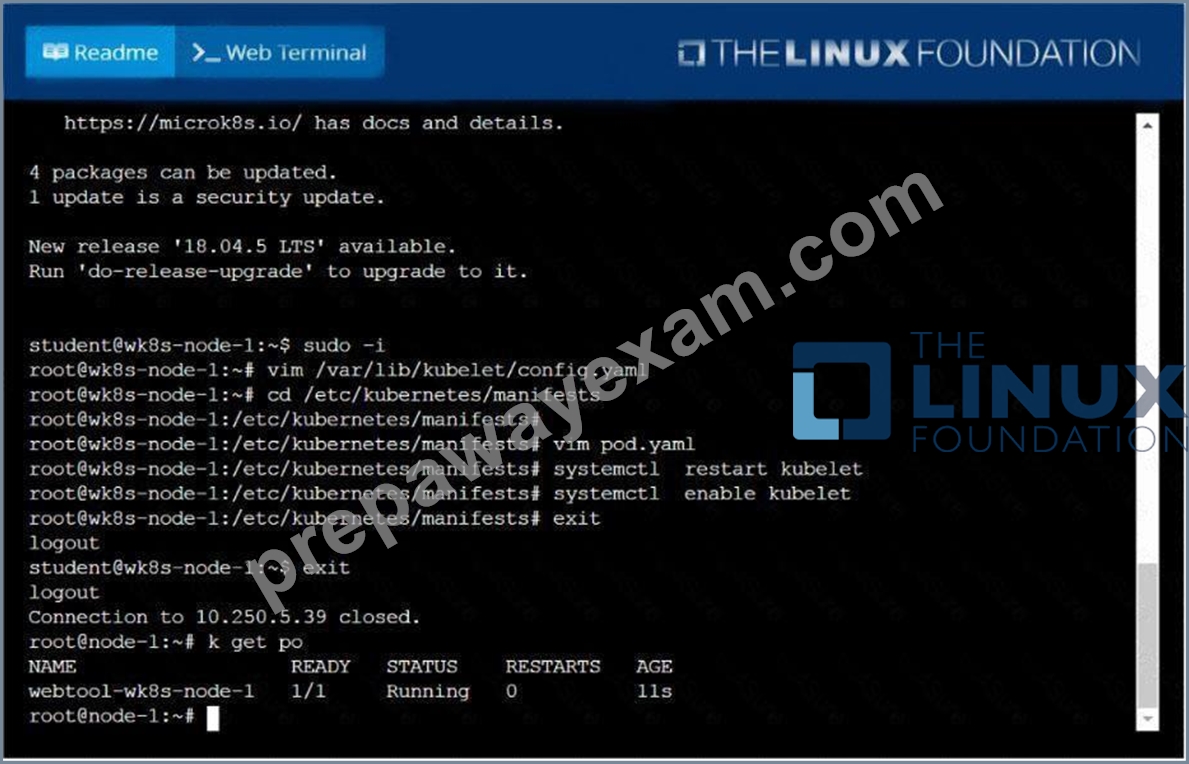
NEW QUESTION # 25
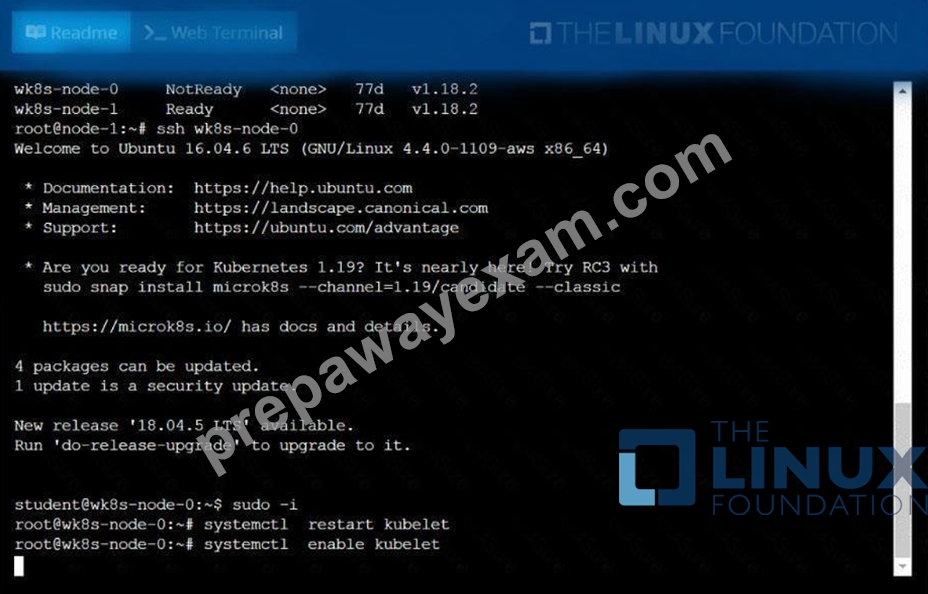
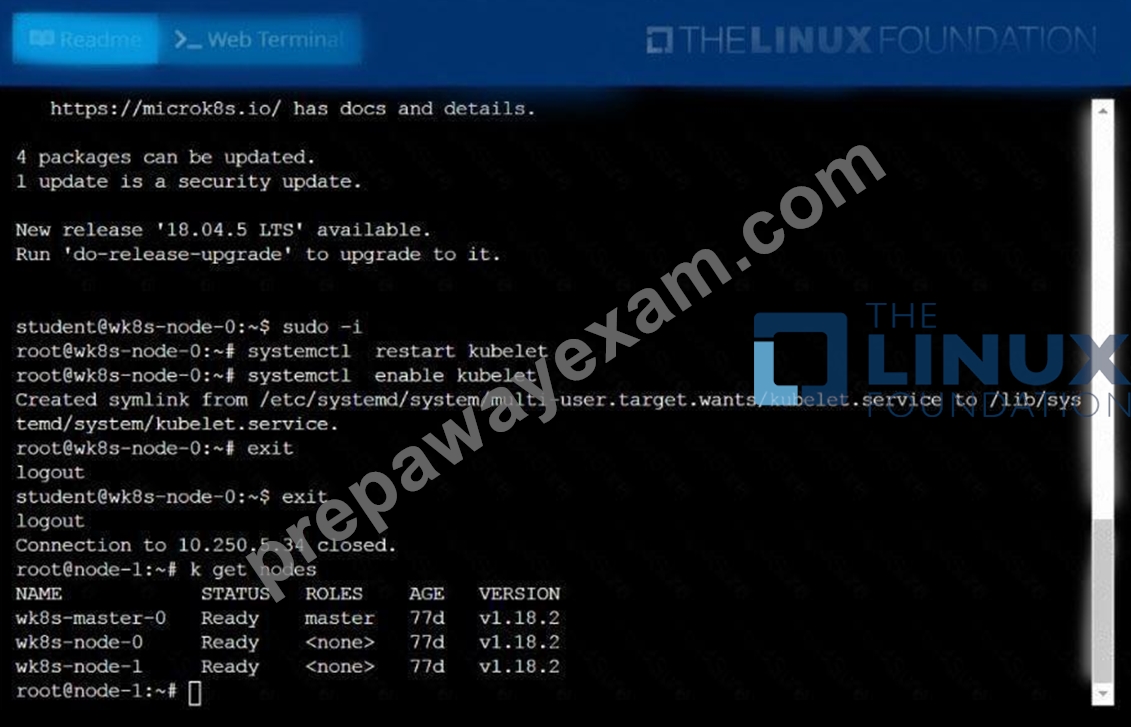
A Kubernetes worker node, named .Investigate why this is the case,
andperform any appropriate steps tobring the node to a state,ensuring that any changes are madepermanent.
You cansshto the failednode using:
[student@node-1] $ | sshWk8s-node-0
You can assume elevatedprivileges on the node with thefollowing command:
[student@w8ks-node-0] $ |sudo -i
Answer:
Explanation:
See the solution below.
Explanation
solution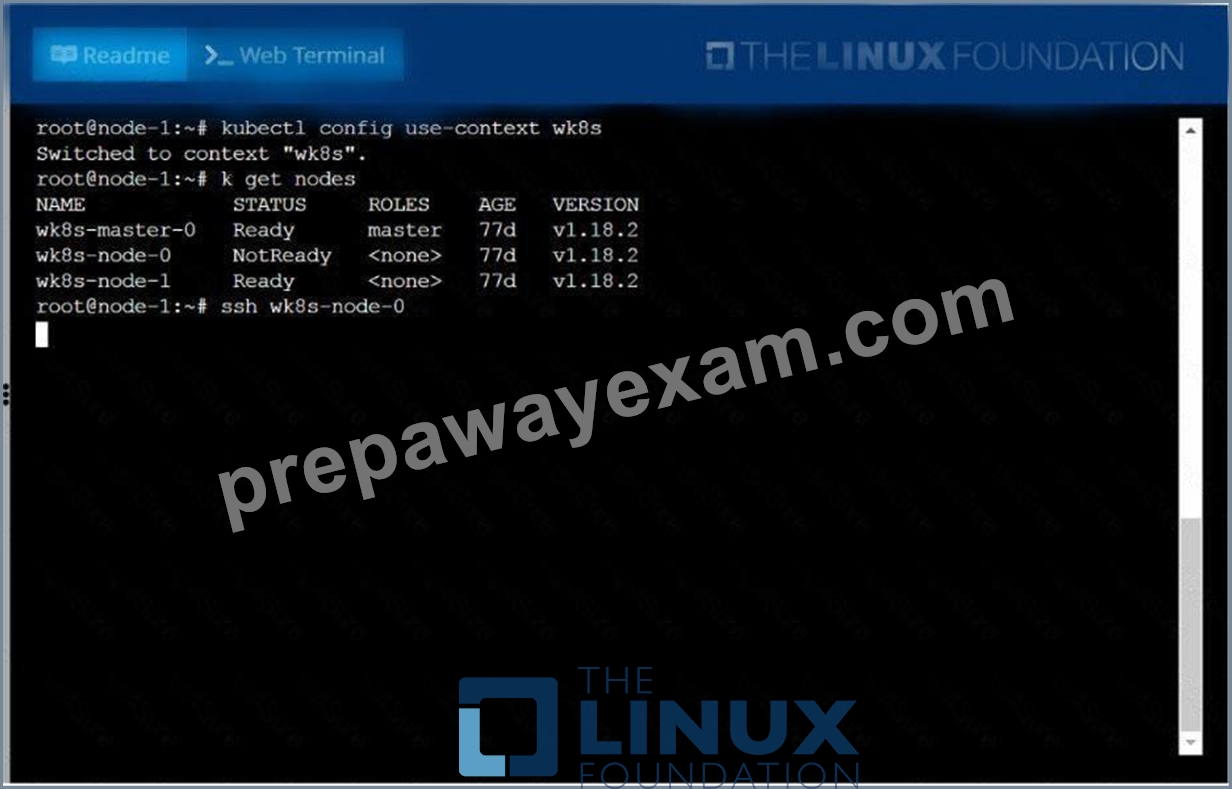
NEW QUESTION # 26
You have a two-tier application with a frontend service 'frontend-svc' exposing a Node.js application running in pods labeled 'app: frontend', and a backend service 'backend-svc' exposing a Python application running in pods labeled 'app: backend'. The frontend pods need to communicate with the backend pods through a service. Design a Kubernetes network setup that allows the frontend pods to access the backend service, ensuring that the backend service is reachable only by the frontend service and not directly from outside the cluster.
Answer:
Explanation:
See the solution below with Step by Step Explanation.
Explanation:
Solution (Step by Step) :
1. Create a Service for the Backend:
- Define a Service for the backend pods: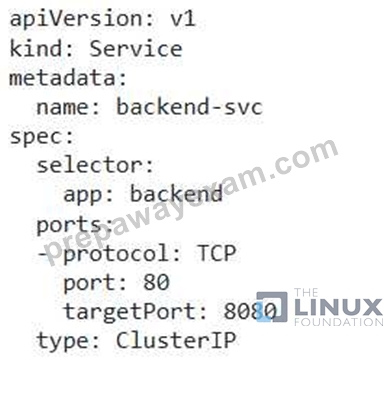
- This Service creates a ClusterlP service, accessible only within the cluster. The 'targetPort' specifies the port exposed by the backend pods. 2. Create a Service for the Frontend: - Define a Service for the frontend pods: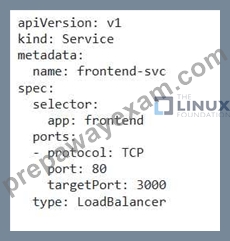
- This Service creates a LoadBalancer service, accessible from outside the cluster. 3. Configure NetworkPolicy for the Frontend Service: - Define a NetworkPolicy that allows traffic from the 'frontend-svc' to the 'backend-svc':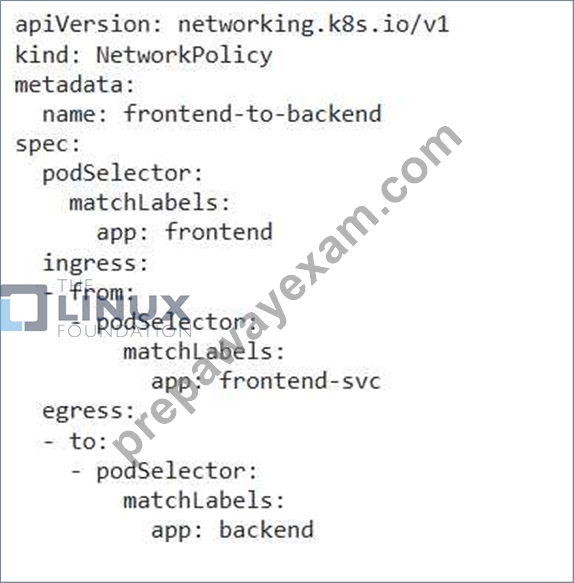
- This NetworkPolicy allows ingress traffic from the 'frontend-svc' and egress traffic to the 'backend-svc'. 4. Apply the Configurations: - Apply the YAML files using 'kubectl apply -f backend-svc.yaml' , 'kubectl apply -f frontend-svc.yamr , and kubectl apply -f frontend-to-backend.yamr. 5. Verification: - Check the status of the services: 'kubectl get services' - Check the network policy status: 'kubectl get networkpolicies' Now, the frontend pods can communicate with the backend service through the 'backend-svc' service. External clients can access the frontend application through the 'frontend-svc' service. The backend service is not accessible directly from outside the cluster due to the NetworkPolicy restricting traffic from external sources. ]
NEW QUESTION # 27
Create a daemonset named "Prometheus-monitoring" using image=prom/Prometheus which runs in all the nodes in the cluster. Verify the pod running in all the nodes
- A. vim promo-ds.yaml
apiVersion: apps/v1
kind: DaemonSet
metadata:
name: prometheus-monitoring
spec:
selector:
matchLabels:
name: prometheus
template:
metadata:
labels:
name: prometheus
spec:
tolerations:
# remove it if your masters can't run pods
- key: node-role.kubernetes.io/master
effect: NoSchedule
containers:
- name: prometheus-container
image: prom/prometheus
volumeMounts:
- name: varlog
mountPath: /var/log
- name: varlibdockercontainers
mountPath: /var/lib/docker/containers
readOnly: true
volumes:
- name: varlog
emptyDir: {}
- name: varlibdockercontainers
emptyDir: {}
kubectl apply -f promo-ds.yaml
NOTE: Deamonset will get scheduled to "default" namespace, to
schedule deamonset in specific namespace, then add
"namespace" field in metadata
//Verify
kubectl get ds
NAME DESIRED CURRENT READY UP-TO-DATE
AVAILABLE NODE SELECTOR AGE
prometheus-monitoring 6 6 0 6
0 <none> 7s
kubectl get no # To get list of nodes in the cluster
// There are 6 nodes in the cluster, so a pod gets scheduled to
each node in the cluster - B. vim promo-ds.yaml
apiVersion: apps/v1
kind: DaemonSet
metadata:
name: prometheus-monitoring
spec:
selector:
matchLabels:
name: prometheus
template:
metadata:
labels:
name: prometheus
spec:
tolerations:
# remove it if your masters can't run pods
- key: node-role.kubernetes.io/master
effect: NoSchedule
containers:
- name: prometheus-container
- name: varlibdockercontainers
mountPath: /var/lib/docker/containers
readOnly: true
volumes:
- name: varlog
emptyDir: {}
- name: varlibdockercontainers
emptyDir: {}
kubectl apply -f promo-ds.yaml
NOTE: Deamonset will get scheduled to "default" namespace, to
schedule deamonset in specific namespace, then add
"namespace" field in metadata
//Verify
kubectl get ds
NAME DESIRED CURRENT READY UP-TO-DATE
AVAILABLE NODE SELECTOR AGE
prometheus-monitoring 8 8 0 6
0 <none> 7s
kubectl get no # To get list of nodes in the cluster
// There are 6 nodes in the cluster, so a pod gets scheduled to
each node in the cluster
Answer: A
NEW QUESTION # 28
List all the pods sorted by name
Answer:
Explanation:
kubect1 get pods --sort-by=.metadata.name
NEW QUESTION # 29
From the pod label name=cpu-utilizer, find pods running high CPU workloads and write the name of the pod consuming most CPU to the file /opt/KUTR00102/KUTR00102.txt (which already exists).
Answer:
Explanation:
See the solution below.
Explanation
solution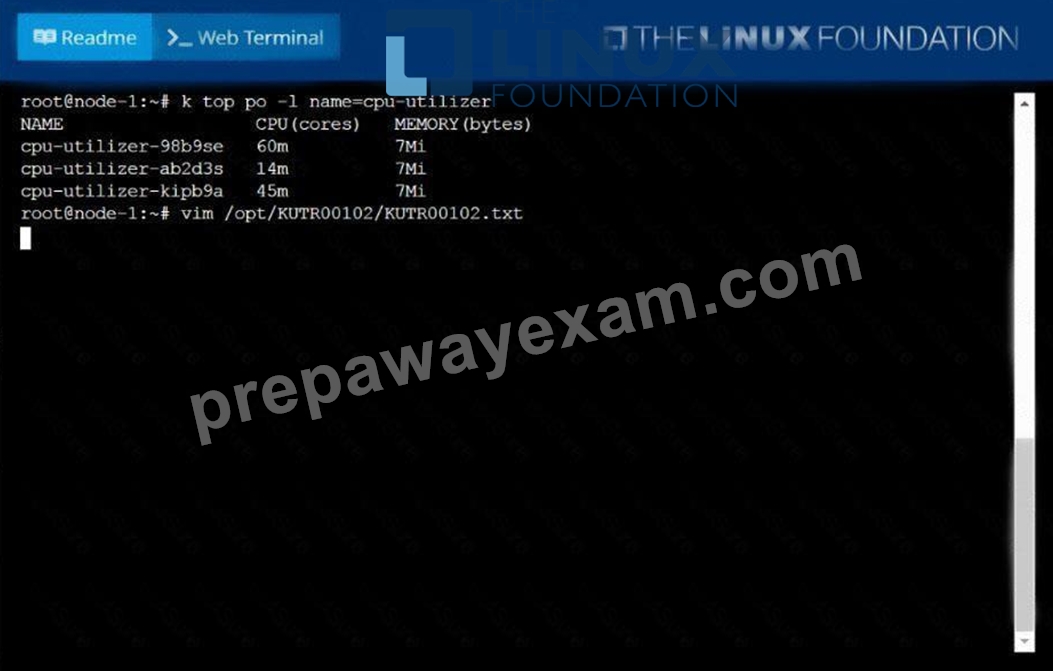
NEW QUESTION # 30
List "nginx-dev" and "nginx-prod" pod and delete those pods
Answer:
Explanation:
kubect1 get pods -o wide
kubectl delete po "nginx-dev" kubectl delete po "nginx-prod"
NEW QUESTION # 31
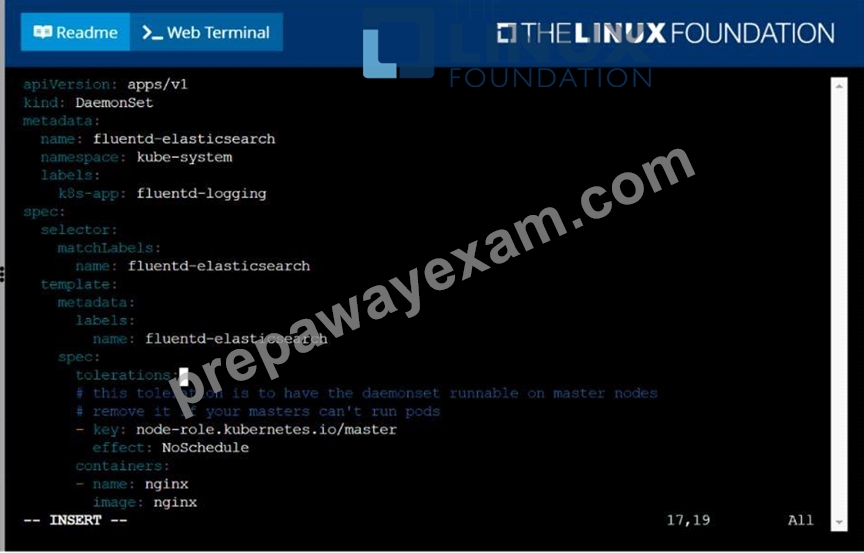
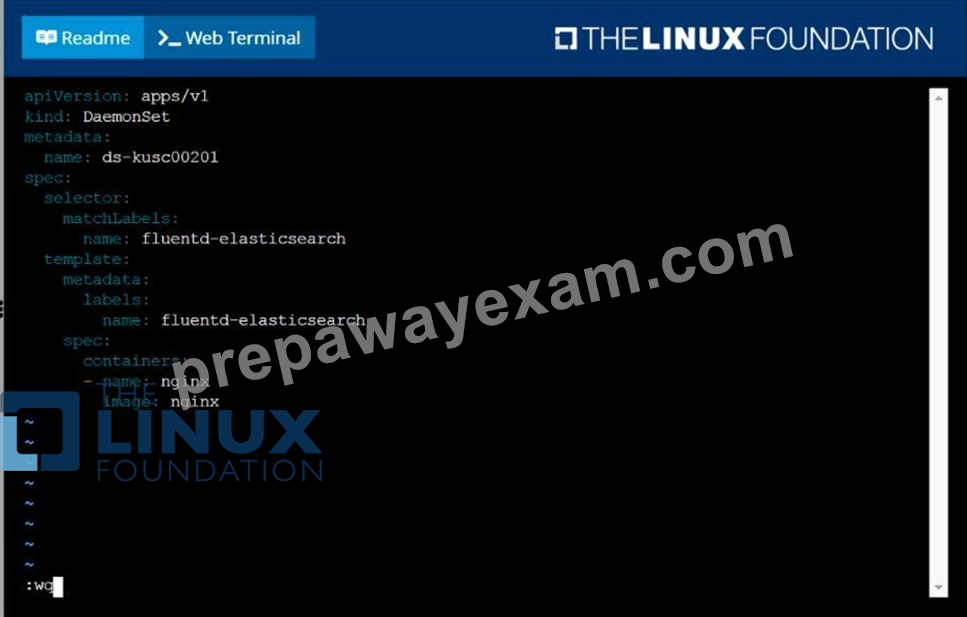
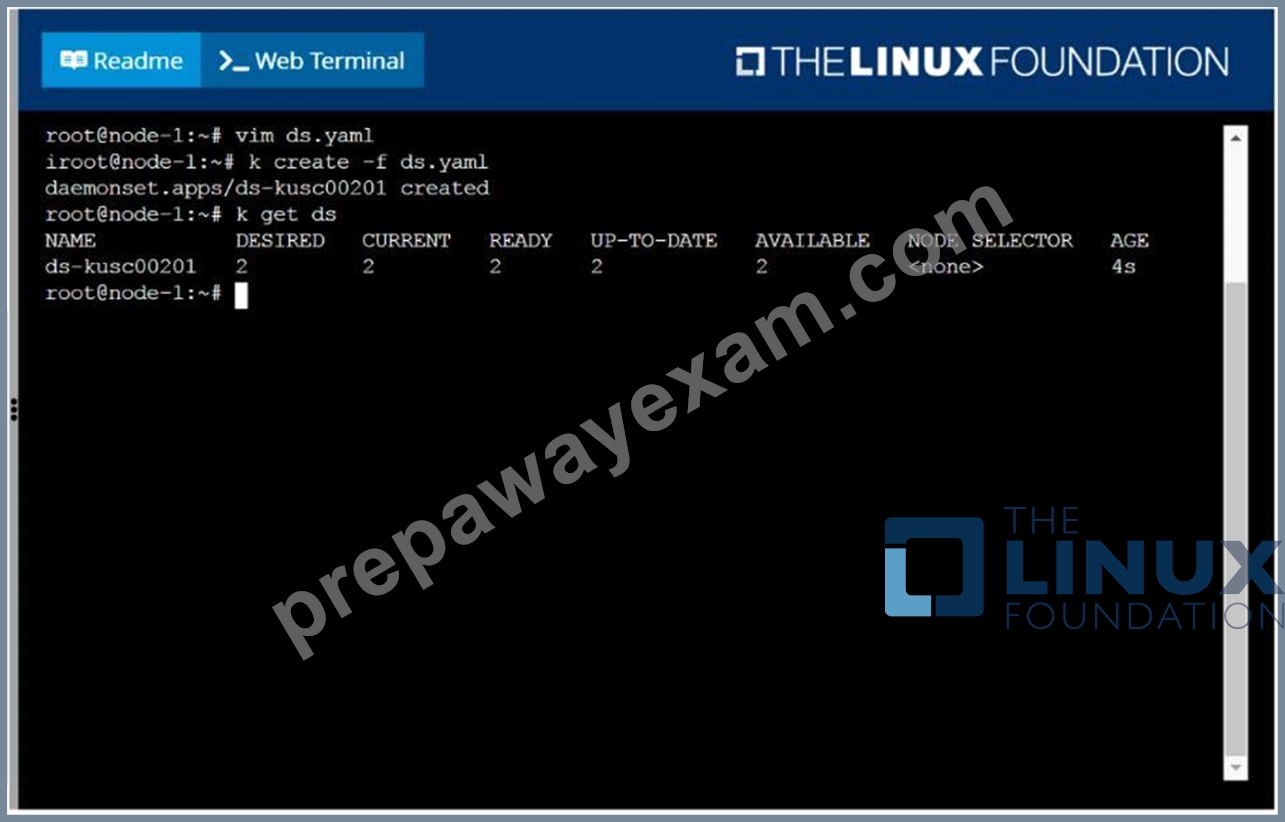
Ensure a single instance of pod nginx is running on each node of the Kubernetes cluster where nginx also represents the Image name which has to be used. Do not override any taints currently in place.
Use DaemonSet to complete this task and use ds-kusc00201 as DaemonSet name.
Answer:
Explanation:
solution
NEW QUESTION # 32
You have a deployment that uses a PersistentVolumeClaim for its storage. The deployment is scaled to 5 replicas. You notice that each pod is using the same volume, leading to data corruption. Explain why this is happening and how you can fix the problem.
Answer:
Explanation:
See the solution below with Step by Step Explanation.
Explanation:
Solution (Step by Step) :
This problem arises because the access mode of the PersistentVolumeClaim is set to 'ReadWriteMany', and the PVC is shared between all pods. When multiple pods access the same data simultaneously, data corruption can occur due to inconsistent updates. To fix the issue, you need to change the PVC access mode to 'ReadWriteOnce' and create individual PVCs for each pod. Here's how:
1. Update the PVC Access Mode:
- Modify the access mode in the PersistentVolumeClaim YAML file to 'ReadWriteOnce'.
2. Update the Deployment to use Multiple PVCs: - Update the Deployment YAML to use a unique PVC for each pod by specifying the 'persistentVolumeClaim' field in the 'spec.template.spec.containers.volumeMounts' section.
3. Apply the Changes: - Apply the updated PVC and Deployment YAML files using 'kubectl apply -f my-pvc.yaml' and "kubectl apply -f my-deployment.yaml' , respectively. - By setting the PVC access mode to 'ReadWriteOnce', each pod can access the volume exclusively. - The updated Deployment definition ensures that each pod has a unique PersistentVolumeClaim. The 'claimName' field in the volumes' section uses the 'pod.metadata.name' to create a unique name for each PVC. This ensures that each pod has its own dedicated storage, preventing data corruption and ensuring data consistency.]
NEW QUESTION # 33
Score: 4%
Task
Schedule a pod as follows:
* Name: nginx-kusc00401
* Image: nginx
* Node selector: disk=ssd
Answer:
Explanation:
See the solution below.
Explanation
Solution:
#yaml
apiVersion: v1
kind: Pod
metadata:
name: nginx-kusc00401
spec:
containers:
- name: nginx
image: nginx
imagePullPolicy: IfNotPresent
nodeSelector:
disk: spinning
#
kubectl create -f node-select.yaml
NEW QUESTION # 34
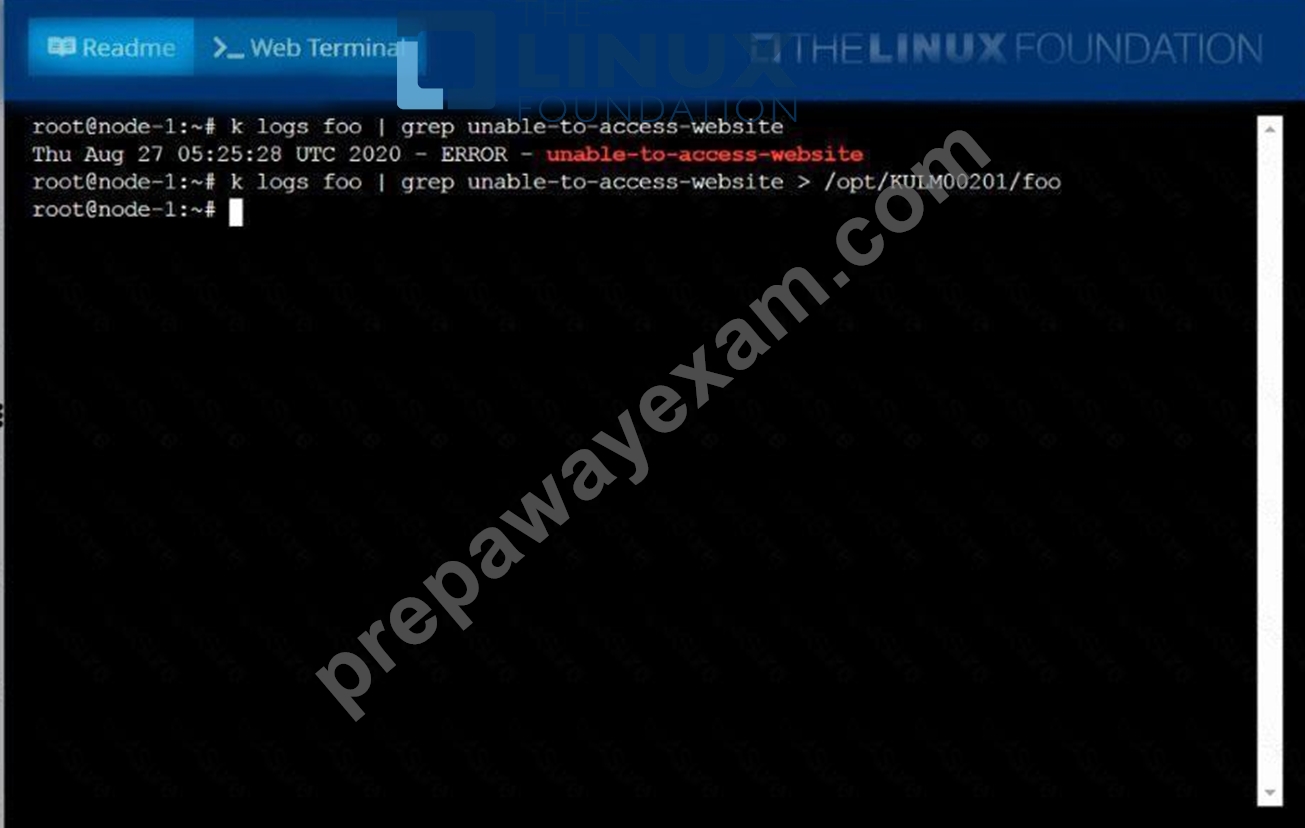
Monitor the logs of pod foo and:
* Extract log lines corresponding to error
unable-to-access-website
* Write them to/opt/KULM00201/foo
Answer:
Explanation:
See the solution below.
Explanation
solution
NEW QUESTION # 35
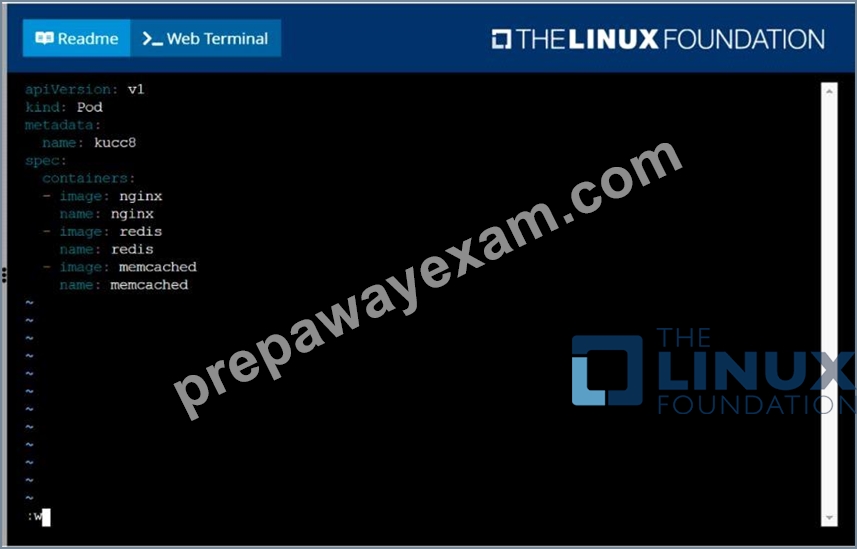
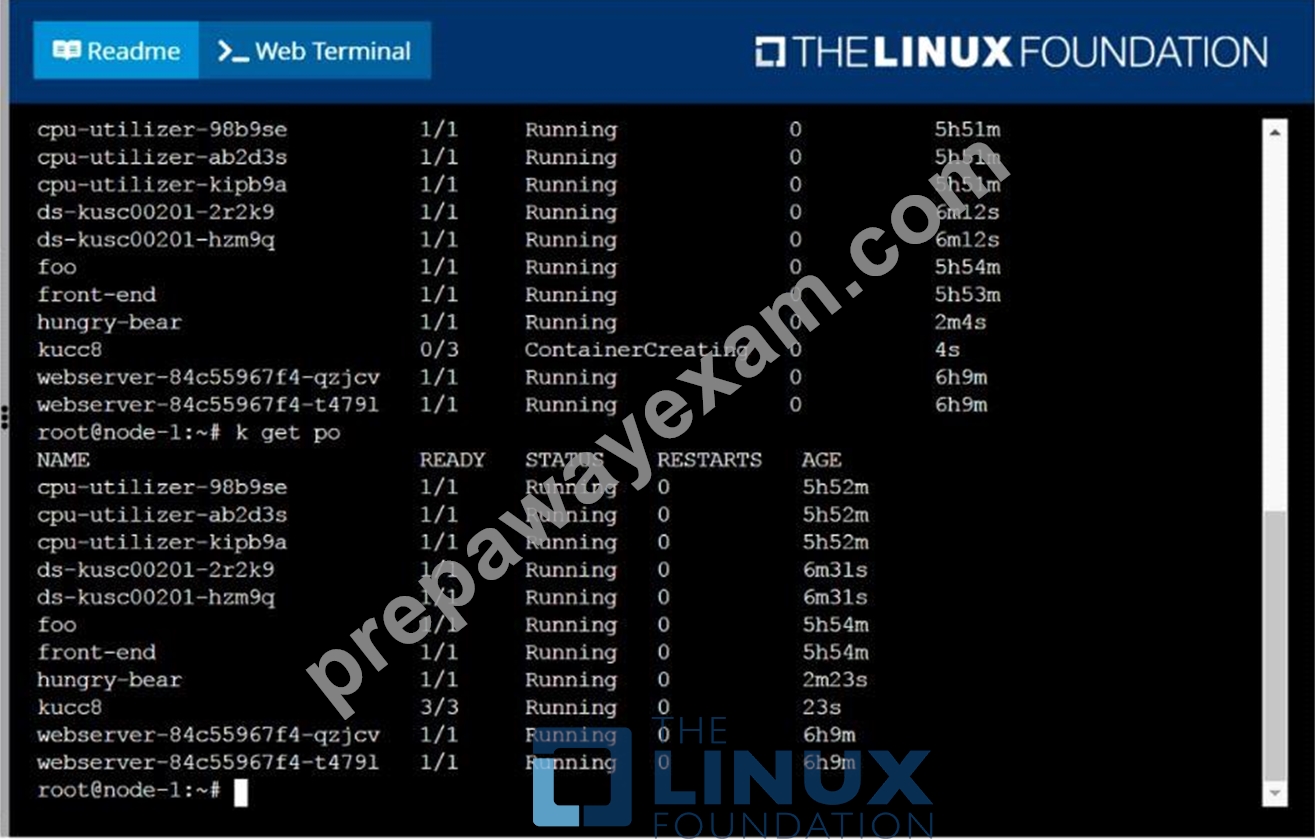
Create a pod named kucc8 with a single app container for each of the following images running inside (there may be between 1 and 4 images specified):
nginx + redis + memcached.
Answer:
Explanation:
solution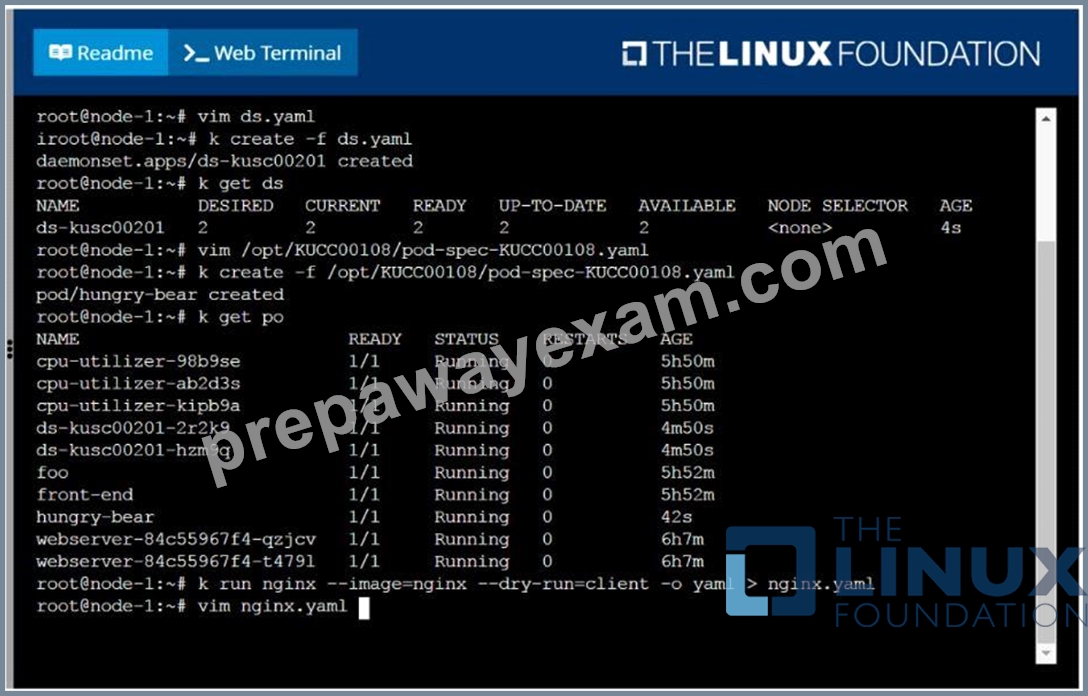
NEW QUESTION # 36
Get IP address of the pod - "nginx-dev"
Answer:
Explanation:
See the solution below.
Explanation
Kubect1 get po -o wide
Using JsonPath
kubect1 get pods -o=jsonpath='{range
items[*]}{.metadata.name}{"\t"}{.status.podIP}{"\n"}{end}'
NEW QUESTION # 37
Get list of all pods in all namespaces and write it to file "/opt/pods-list.yaml" See the solution below.
Answer:
Explanation:
kubectl get po -all-namespaces > /opt/pods-list.yaml
NEW QUESTION # 38
......
Regular Free Updates CKA Dumps Real Exam Questions Test Engine: https://itcertspass.prepawayexam.com/Linux-Foundation/braindumps.CKA.ete.file.html